home

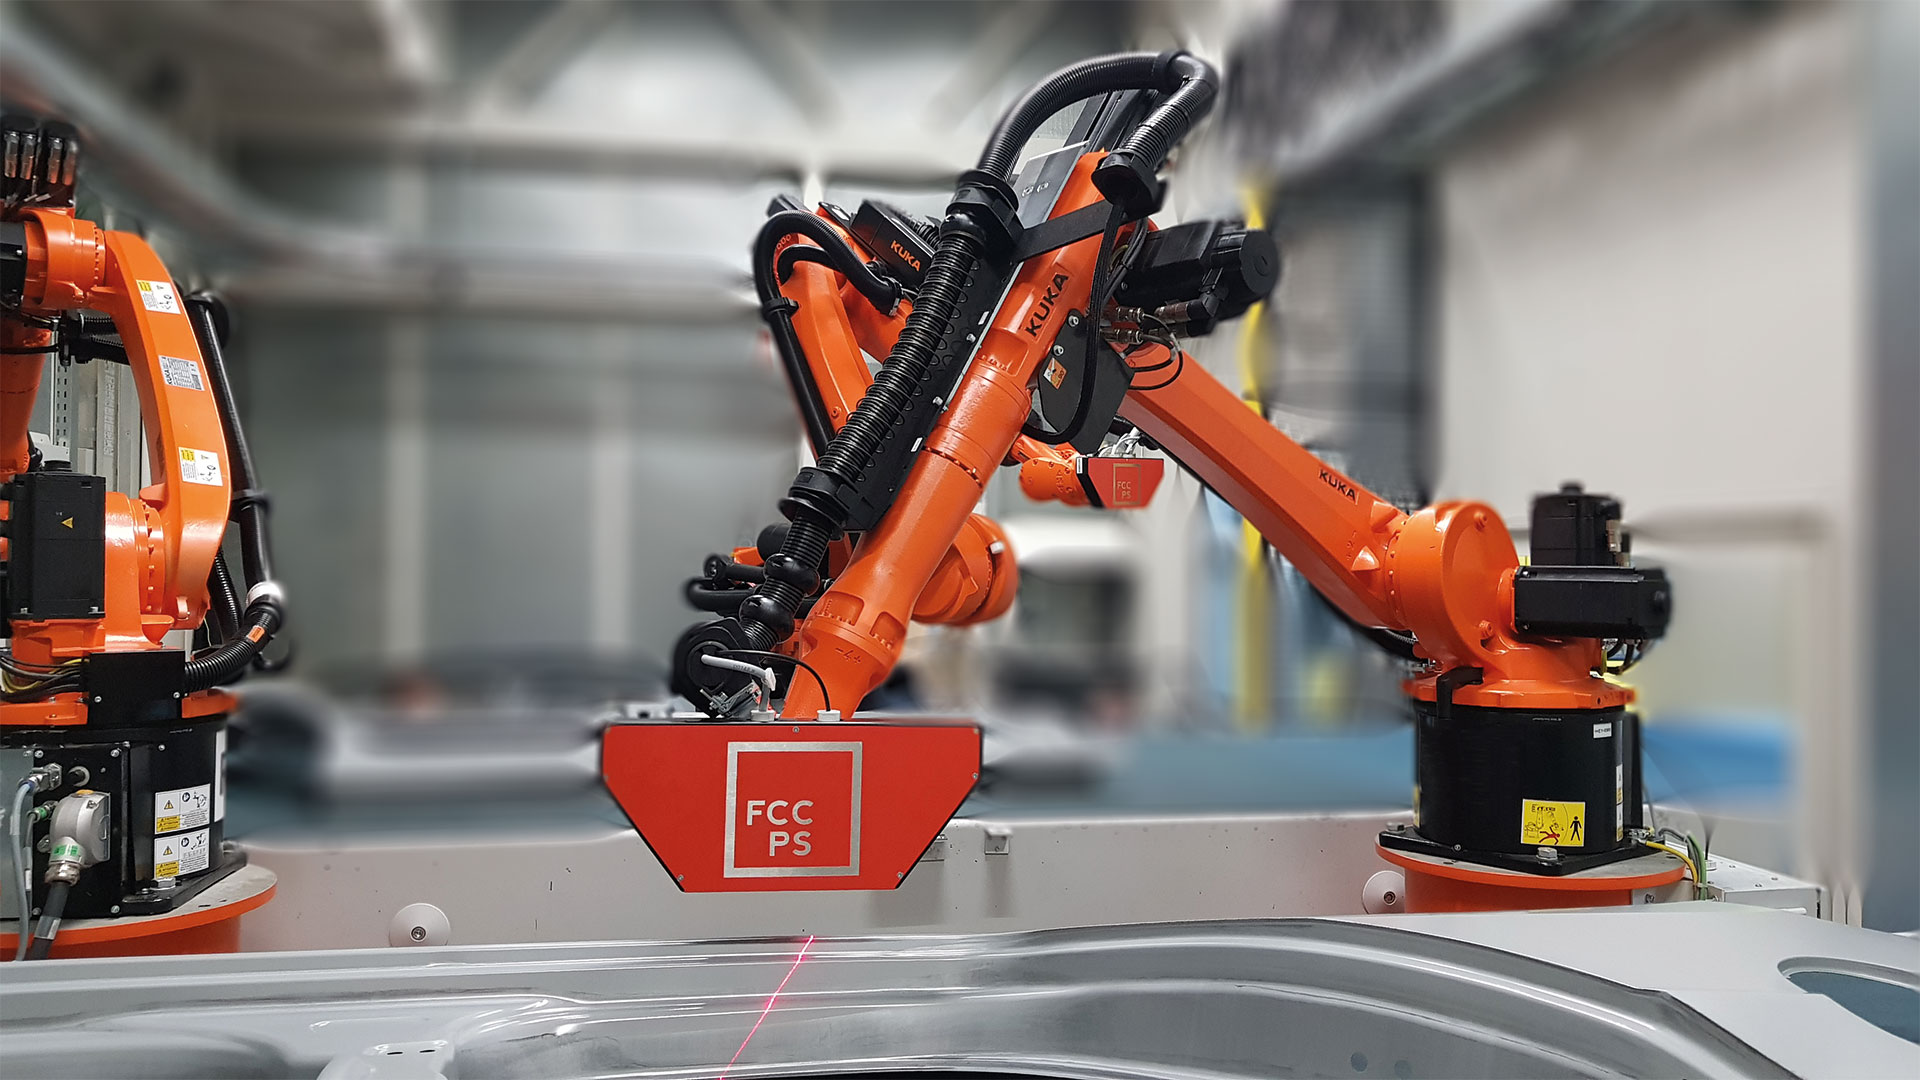
The company FCC Industrial Systems has been dealing with the detection of stamping defects for a long time and has developed several detection methods for this purpose. We supply systems that inspect the most critical bends with cameras embedded directly in the stamping die. For additional inspection, we have developed a scanning head designed for mounting on a robot, which can be used to search for defects in virtually any part of the finished stamping. Robotic inspection is placed after the stamping line and can be programmed to detect defects that cannot be technically inspected with a camera embedded in the die. The head works on the principle of optical triangulation. The assembly of the laser source, high-speed camera, and evaluation software is optimized for detecting defects that occur when the homogeneity of the sheet metal is violated during stamping. This optimization allows for the detection of surface defects with a depth of less than 100μm at a scanning speed of up to 6 m/s. Moreover, the method is not critically dependent on the precise trajectory or uniformity of the scanning head's movement, which makes robot programming easier. It also excludes errors caused by the contamination of the stamping surface with oil, lubricant, or other means.
We have already implemented the unique scanning head on four presses with a total of 16 robots

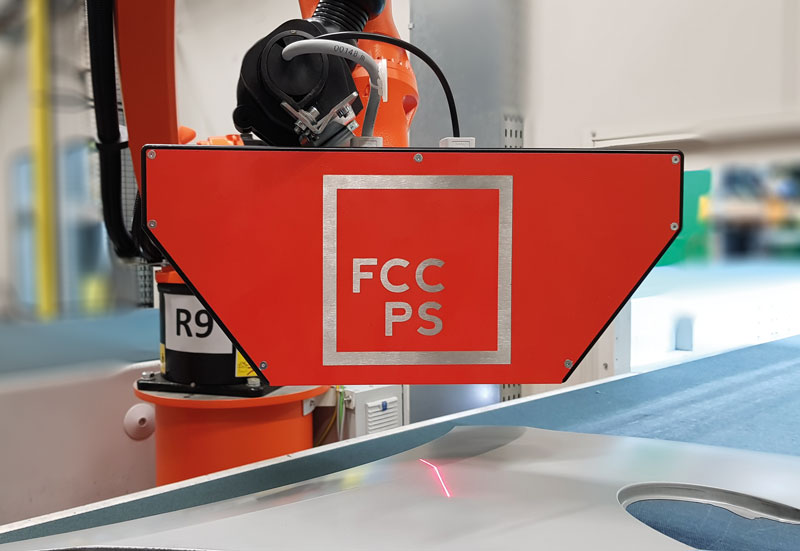
Currently, we have developed a new scanning head for robotic inspection, which is now more compact, calibrated, and equipped not only with a soft-tip probe for easier trajectory creation but also with a laser pointer to facilitate determining the point being monitored by the camera head. Our developed robotic inspection is already in use on four presses, where sixteen robots are searching for sheet metal defects.

Reconstructed 3D surface with marked surface defect.
In this case, it is a sheet metal strain.
The new scanning head is a real breakthrough in defect detection and is already in full operation with a major manufacturer in the automotive industry.
Parts stamped from sheet metal are today the basis of self-supporting structures not only in the automotive industry. Therefore, their strength must not be reduced by weakened areas, strain, and cracks that may occur during stamping.
Modern CAD software can simulate sheet metal stress in the stamping die and predict critical areas. They allow the material to be used to its limit of strength parameters and save huge costs in mass production. However, the prerequisite is manufacturing with absolutely flawless material, as even insignificant non-homogeneity can cause a critical defect in the stamping. Therefore, the inspection of critical points of the finished stamping is often an essential part of the stamping operation.
FCC Industrial Systems has been dealing with the detection of stamping defects for a long time and has developed several detection methods for this purpose. We supply systems that inspect the most critical bends with cameras embedded directly in the stamping die.
For the inspection of cracks and strains, we use two methods of capturing and evaluating the image, which we choose according to the nature of the anticipated defect. An image can be taken in visible light or using a laser line. The captured images are evaluated with special software.
Cameras and laser illuminators are mounted in the non-moving parts of the stamping die (punch). Their placement is chosen according to the nature of the detected defect. The cameras use Ethernet communication and are connected through a unified connector panel, similar to the outputs of other sensors located in the die. Image processing and result evaluation take place in an industrial computer, which can be supplemented with a visualization panel.
Inspection of critical points of the stamping directly on the stamping line detects defects in the stamping while still in the stamping process. This allows for the rejection of defective parts before further processing, thus saving production costs.